Interface overview
Every page in ZenBooks shares the same layout: a sidebar on the left, and the page itself on the right. This page is a quick tour of that shared shell before the rest of the manual walks through each page it links to.
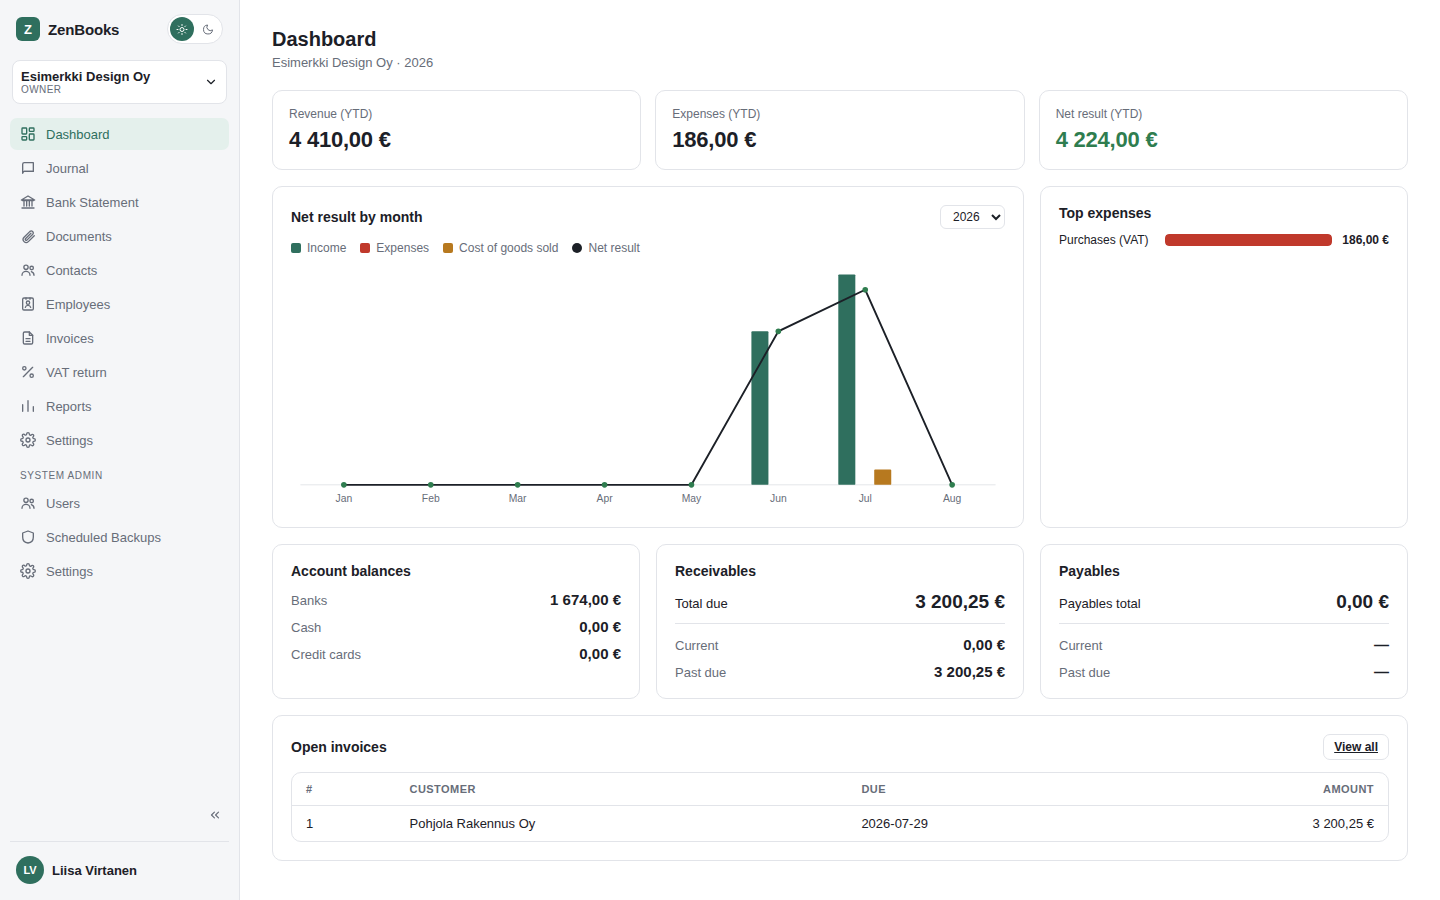
The shared layout: sidebar on the left, active page on the right.
The sidebar
From top to bottom: the ZenBooks brand mark and a theme toggle, the company switcher, the main navigation links (see Dashboard onward for what each one does, in the order they appear), a System Admin section further down for admin accounts only, a collapse toggle, and your own name at the very bottom (opens the Account page).
- Company switcher - every company you have access to; switching companies changes what the rest of the app shows without a full page reload. Company creation itself is admin-only.
- Collapse toggle (the
«arrow near the bottom) - shrinks the sidebar to icons only, a per-device preference remembered in this browser. - Incoming Invoices only appears once Maventa and/or Apix e-invoicing is turned on for the active company (Settings) - it's not missing, it's just conditional.
Themes
The sun/moon toggle next to the brand mark switches between light and dark. Left alone, ZenBooks follows your OS/browser preference automatically; an explicit choice here overrides that and is remembered.
System-wide banners
Two things can show a banner at the top of every page, admin or not - both silent unless something actually needs attention:
- Database update notice - appears only if an automatic startup migration failed. Shows the failing file and error message, with a Retry button (an admin fixed the underlying issue and wants to re-run it) and a dismiss button.
- License notice - silent while license checks are healthy. A warning appears the moment a check first fails (dismissible), and escalates to a non-dismissible read-only-mode banner if the failure persists - see Users & licensing for what read-only mode actually restricts.
Where things live, at a glance
- Per-company data (vouchers, invoices, contacts, reports, and that company's own configuration) - everything above "System Admin" in the sidebar, including Settings.
- Your own preferences (language, font size, phone number) - the Account page, reached via your name at the bottom of the sidebar, not a Settings tab.
- Install-wide, admin-only setup - the System Admin section: Users, Scheduled Backups, and Settings (vendor integration keys + Vero e-filing). See the separate Admin section of this manual.